
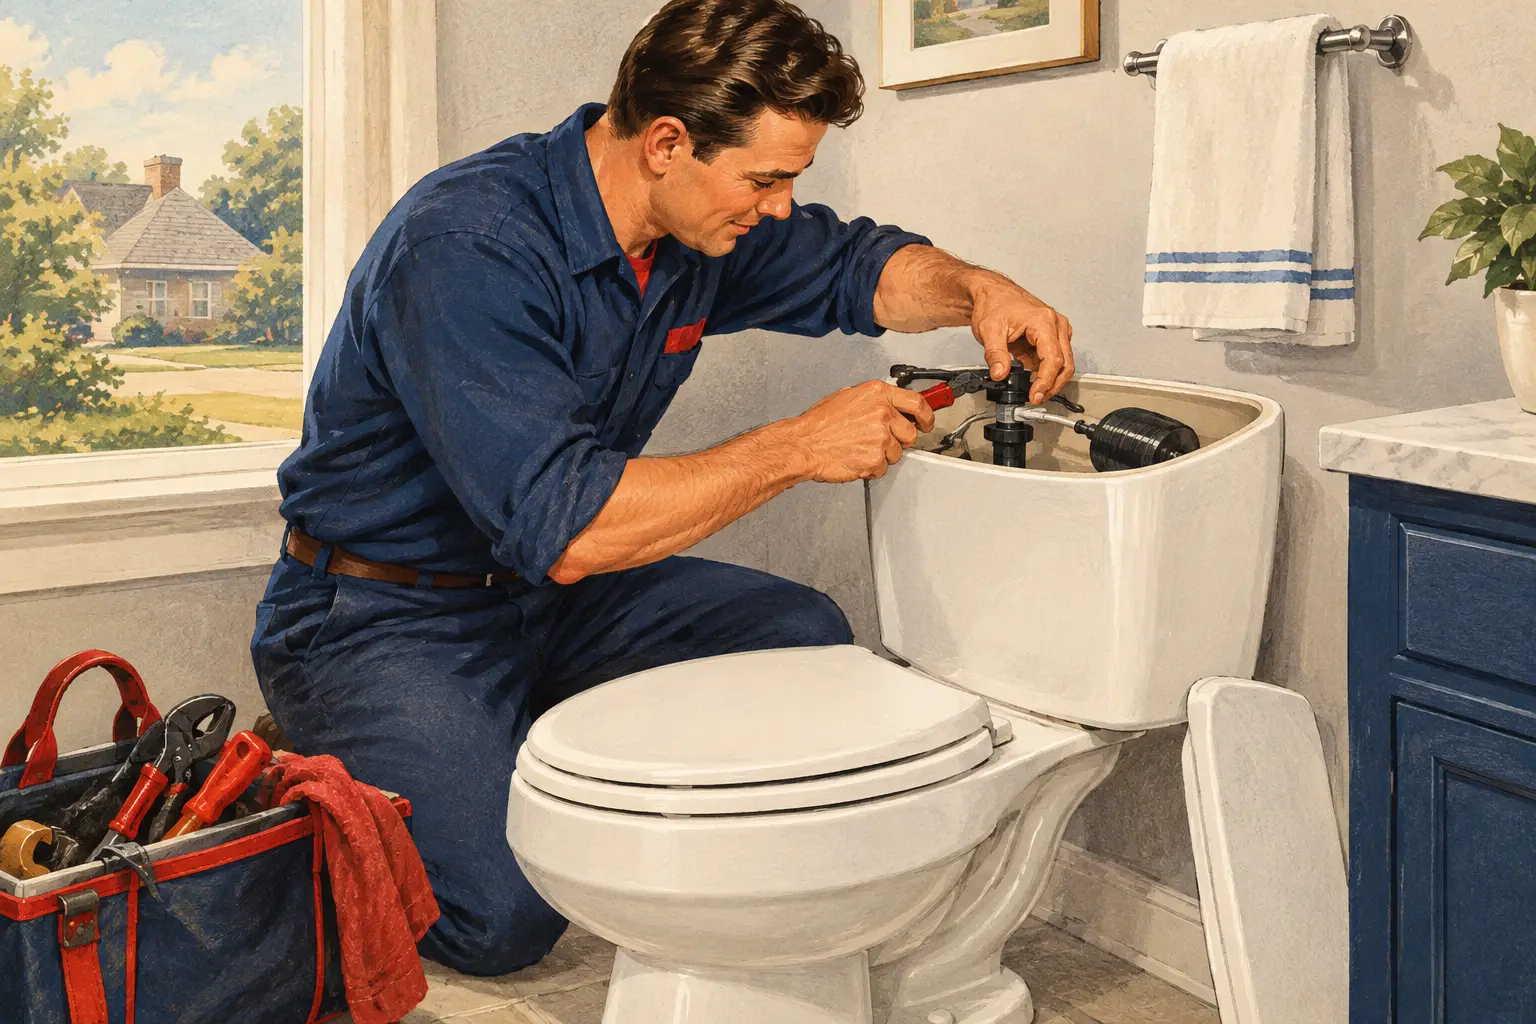
A toilet that refills every few minutes can quietly waste a surprising amount of water. The sound may be easy to ignore at first, but knowing how to fix a running toilet can prevent a higher water bill, reduce wear on the fixture, and help you catch a small part failure before it becomes a more disruptive repair.
Most running toilets have a problem inside the tank, not in the bowl or drain line. In many cases, the issue is a worn flapper, an improperly adjusted chain, or a fill valve that is not shutting off correctly. These parts are accessible, but it helps to diagnose the cause before making an adjustment or replacing anything.
Start by Checking the Toilet Tank
Remove the tank lid carefully and set it aside on a towel or stable surface. Tank lids can crack easily, and replacement lids are often difficult to match. With the lid off, flush the toilet and watch what happens as the tank empties and refills.
A properly operating toilet should stop filling once the water reaches the marked fill line inside the tank, usually about an inch below the top of the overflow tube. If water continues flowing into the overflow tube, the fill valve or float setting is usually the problem. If the tank fills, stops, and then starts again later, water is likely leaking slowly from the tank into the bowl.
Before working on any component, locate the shutoff valve on the wall or floor behind the toilet. Turn it clockwise to stop the water supply if you need to make an adjustment or inspect a part more closely. If the valve is stiff, corroded, or will not turn, do not force it. That is a good reason to call a plumbing professional.
How to Fix a Running Toilet Caused by the Flapper
The flapper is the rubber or silicone seal at the bottom of the tank. It lifts when you flush, allowing water to enter the bowl, then drops back into place to seal the flush valve opening. A flapper that is warped, cracked, dirty, or simply worn out may not create a watertight seal.
Start with a simple inspection. With the tank full, look for rippling water around the flapper or listen for a faint hiss near the bottom of the tank. You can also place a few drops of food coloring in the tank and wait about 15 minutes without flushing. If color appears in the bowl, water is passing the flapper.
Sometimes the flapper just needs to be reseated. Turn off the water supply, flush to lower the tank water level, and gently wipe away buildup from the flapper and the rim it seals against. Then place the flapper back evenly over the opening and restore the water supply.
If the rubber is brittle, misshapen, or no longer flexible, replacement is usually the practical solution. Flappers come in different sizes and styles, so the replacement should match the existing flush valve. Using the wrong size can create the same leak you are trying to solve.
Check the Flapper Chain Length
The chain connecting the flush handle to the flapper can also cause a toilet to run. If the chain is too short, it can hold the flapper slightly open after a flush. If it is too long, it may catch beneath the flapper and prevent a full seal.
There should be a small amount of slack in the chain when the flapper is closed. Adjust the connection point on the flush lever if needed, then flush several times to make sure the flapper lifts freely and returns fully to its seat.
Adjust the Float and Fill Valve
If water is flowing into the overflow tube, the tank water level is too high. The float tells the fill valve when to stop adding water. Depending on the toilet model, you may have a float cup that slides along the fill valve or an older-style float ball attached to a metal arm.
For a float cup, look for an adjustment screw or clip on the fill valve assembly. Turning the screw in small increments can lower the water level. For a float ball, a small adjustment at the screw or arm may change where the valve shuts off. Make gradual changes, let the tank refill, and check the water level again.
The target is not to fill the tank as high as possible. Water should stop below the top of the overflow tube and at or near the manufacturer’s fill line. If the adjustment does not stop the refill cycle, the fill valve itself may be worn or obstructed.
A failing fill valve may hiss continuously, refill slowly, shut off inconsistently, or keep sending water through the overflow tube even after adjustment. Replacing a fill valve is a common repair, but it requires disconnecting the toilet’s water supply line and installing the new component correctly. If you are not comfortable with those connections, professional service can avoid a leak at the supply line or an improper installation.
Look for Less Obvious Causes
Not every running toilet is caused by a single worn part. Mineral buildup can interfere with moving components, particularly in older toilets. A loose flush handle can prevent the chain from dropping correctly. A damaged overflow tube or cracked flush valve assembly can allow water to bypass the intended seal.
It also matters when the toilet runs. A toilet that runs immediately after every flush often points to the flapper, chain, or fill valve. A toilet that begins refilling hours after it was used is more likely losing water slowly through the flapper seal. If the bowl water level rises and falls on its own, or if you hear gurgling from nearby fixtures, the concern may extend beyond the tank components and should be evaluated by a plumber.
When a Running Toilet Needs Professional Repair
A straightforward flapper adjustment can be a reasonable homeowner task. However, it is best to schedule plumbing service when the problem returns after a repair, the shutoff valve does not work, water is leaking onto the floor, or the toilet has multiple worn components.
For property managers and local businesses, a running toilet should be addressed promptly even if it remains usable. Repeated refilling adds unnecessary water use, and a failed internal part can become an overflow risk if the toilet is not monitored. Commercial restrooms and high-use household bathrooms may also wear through fill valves and flappers more quickly than lightly used fixtures.
MasterTex Plumbing and Drain can inspect the toilet, identify whether the issue is limited to the tank hardware, and make the repair without guesswork. For homeowners in Plano, McKinney, Allen, Garland, Royse City, and surrounding North Texas communities, having a dependable plumber assess a recurring issue can be more efficient than replacing parts one at a time.
Prevent the Problem From Returning
After the repair, listen to the toilet for a few minutes following each flush. The tank should fill, stop, and remain quiet. Check occasionally for water trickling into the bowl, especially if you have noticed unexplained increases in water use.
Avoid forcing the handle, leaning on the tank lid, or using the toilet tank as storage. These habits can damage internal components or interfere with the flush mechanism. If you replace a component, retain the instructions for the part and confirm that its settings match the toilet manufacturer’s recommended water level.
A quiet toilet is easy to overlook, but that is exactly how it should operate. When the refill sound does not stop, addressing it early protects your fixture, your water use, and your peace of mind.